Build
Create standard MAME layouts with bezel, marquee, backdrop, side art, control panel, instruction-card, and gameplay-screen sections, then place and size them directly against the live monitor boundary preview.
Live tool
Build starter MAME .lay files, RetroArch .cfg overlays, imported layout rebuilds,
second-screen hi-score presentations, and turn-flag active-player image workflows with a live visual preview
and mode-aware export output.

Use the builder when you want to create artwork layouts from scratch, rebuild an imported .lay,
manage second-screen score panels, add turn-flag driven P1 and P2 active-player images, edit output before
saving, or produce RetroArch-friendly overlay exports without losing a live preview of the final fit.
Overview
Create standard MAME layouts with bezel, marquee, backdrop, side art, control panel, instruction-card, and gameplay-screen sections, then place and size them directly against the live monitor boundary preview.
Load an existing .lay file, keep its geometry locked, rebuild imported bezel layers as editable cards,
reattach missing artwork refs, and update the same output without manually rewriting the XML.
Generate current MAME .lay output, RetroArch .cfg output, merged preview images,
and editable output text from the same active editor state, so what you inspect is tied closely to what you download.
Core modes
Manual build
Start from scratch, enable only the sections you need, jump between them from the quick menu, and fine-tune size, order, placement, and viewport fit inside the live builder.
H2H Cocktail
Use the dedicated H2H Cocktail mode when a cabinet needs two gameplay areas in one layout, with its own game-screen section, shared bezel support, and combined fullscreen checking.
Import
Import a working layout, leave it in locked mode, and rebuild imported elements as live editor controls, including extra bezel layers and supported standard-layout image refs.
Second screen
Set Display 1 and Display 2 separately, inspect them one at a time or in Full view, and export split MAME views for
\\.\DISPLAY1 and \\.\DISPLAY2, including imported Hi Score layouts with optional turn-flag active-player art.
RetroArch
Build merged overlays with layer opacity, scale, rotation, shader options, advanced touch presets,
and optional touchscreen zones, then export the matching .cfg plus the composed PNG.
Screens
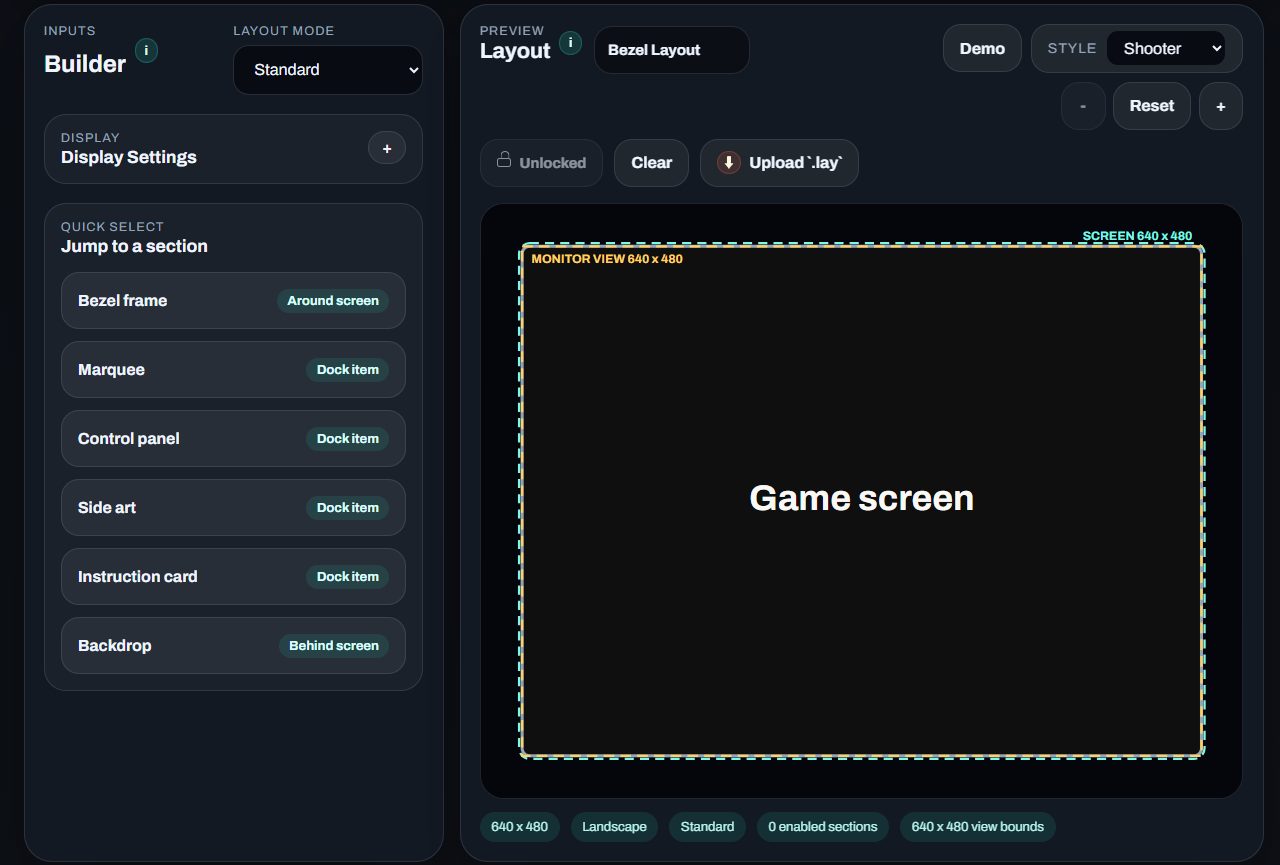
The current standard builder keeps Layout Mode, Display Settings, the quick-select section menu, live preview tags, lock state, upload/import actions, and preview status chips visible at the same time.
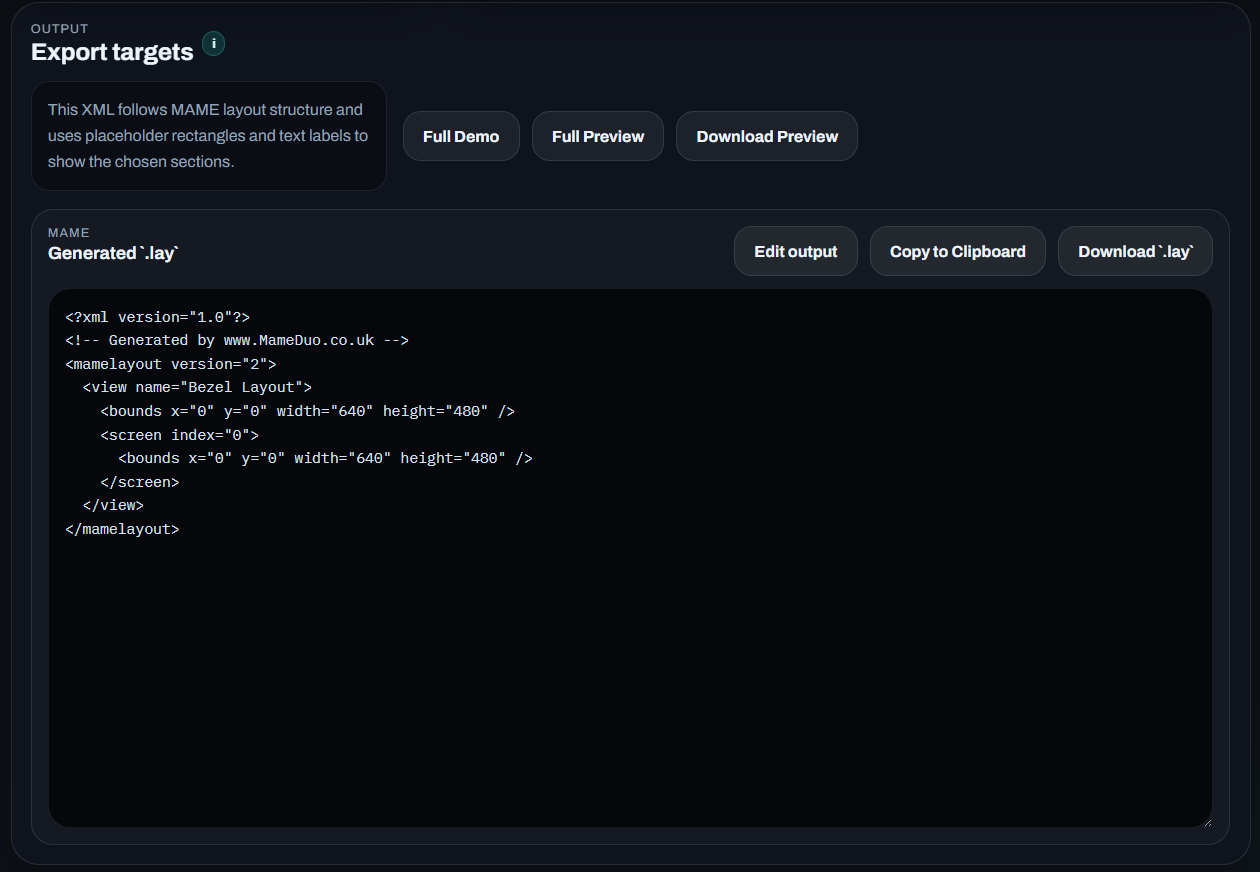
The output area supports fullscreen preview checks, direct XML viewing, copy-to-clipboard, and download. It stays directly below the live Preview and uses the full width automatically when the settings panel is shorter.
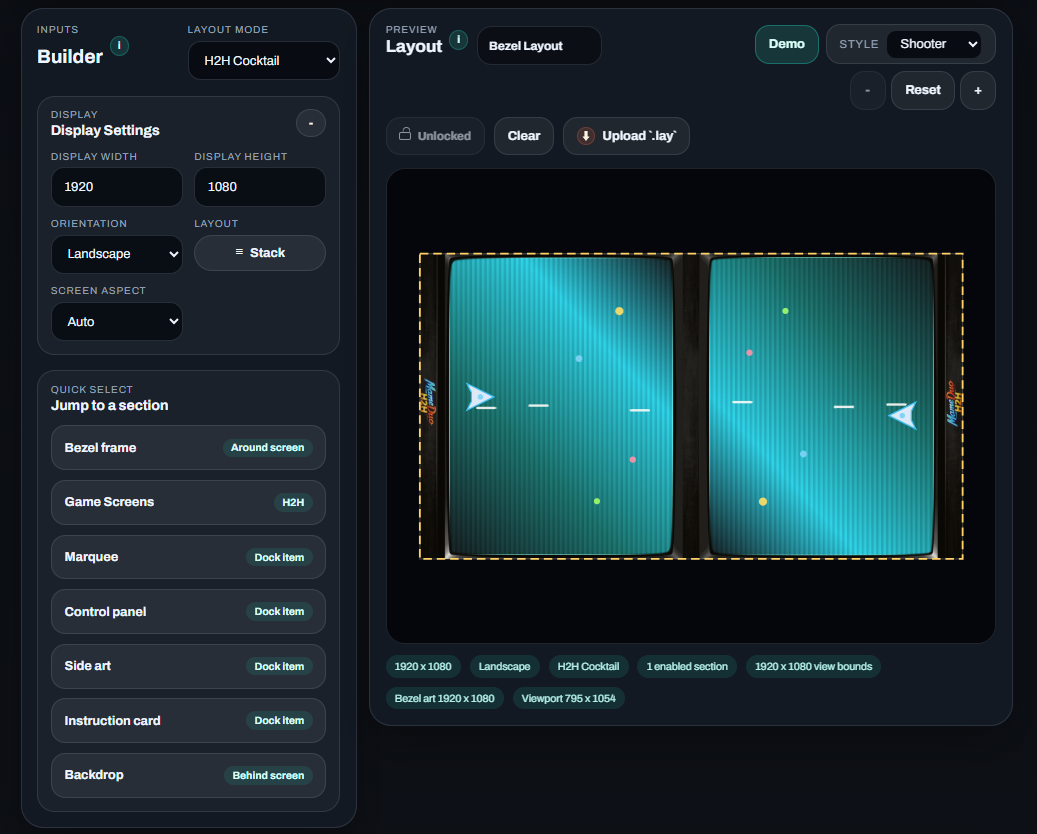
H2H Cocktail mode gives the builder a dedicated dual-screen workflow, including Game Screens in the quick menu, H2H-specific status chips, and a combined preview for twin gameplay windows inside one cabinet layout.
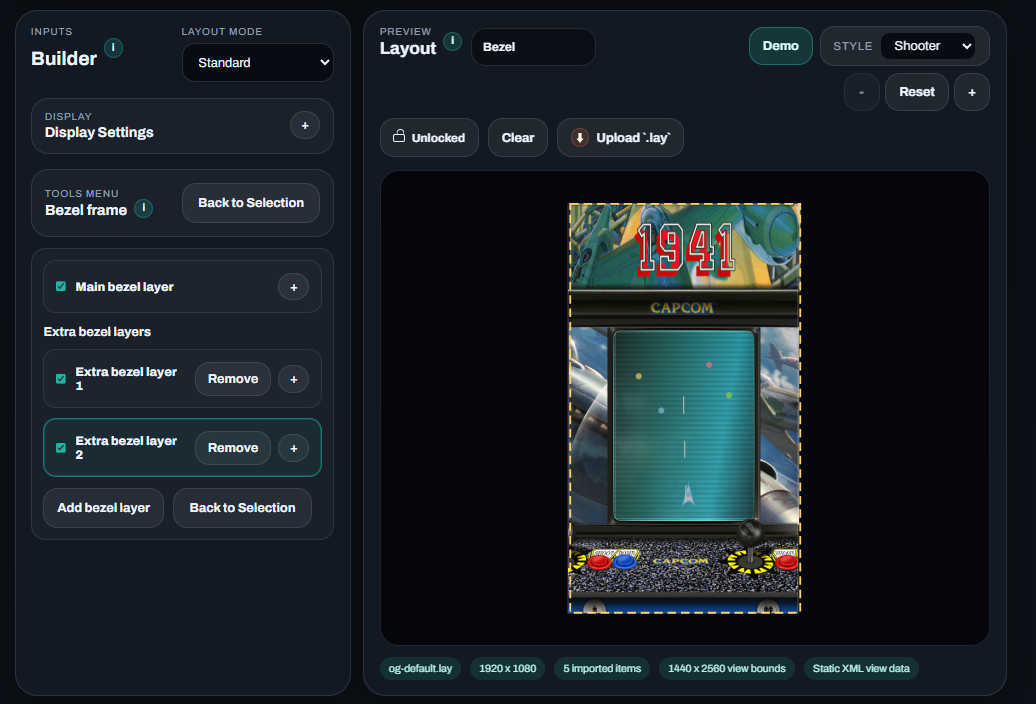
Imported standard layouts can rebuild the main bezel and extra bezel layers into live cards, so you can target the same imported artwork layers instead of stacking duplicate replacements on top.

Imported score layouts can now expose a dedicated Hi Score block together with turn-flag driven P1 and P2 active-player images, so a score companion display can react visually while each player is active.

Each active-player element can now use one static PNG or an animated frame sequence with folder, frame count,
playback mode, speed, and frame-delay controls, then export back into the generated .lay.
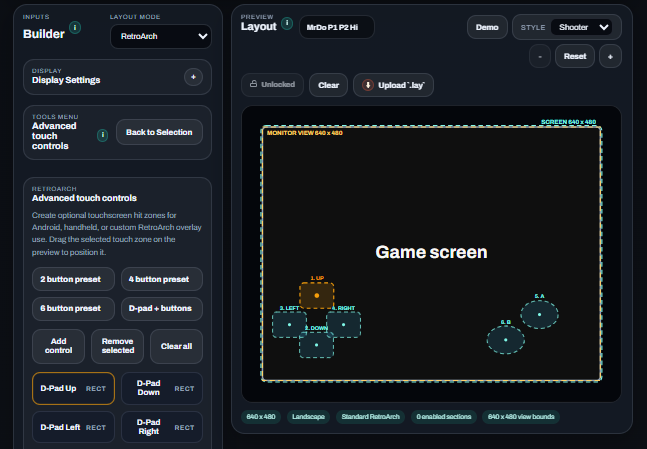
RetroArch mode now includes advanced touch controls with presets, draggable control zones, add/remove tools, and overlay-friendly previews for Android or custom touch-based frontends.
Current feature set
.lay that includes the turn-flag elements.anim-seq/anim-seq1.png..lay and want to rebuild it, inspect it, update its output, or attach missing artwork files..lay in the same MAME artwork folder as the PNG files it references.Ready to build
The builder is already live, so the fastest path is to open it directly, keep the user guide nearby, and use the new showcase page as a quick reference for the main workflows before you move into the full editor.